Introduction #
This guide applies to all Qilowatt devices.
Replacement can only be done with the same device model – for example, a Modbus R2 can only be replaced by another Modbus R2.
In that case, all previously configured settings on your account will remain unchanged.
Replacement can only be done with the same device model – for example, a Modbus R2 can only be replaced by another Modbus R2.
In that case, all previously configured settings on your account will remain unchanged.
⚠️ Replacement is only possible if the offline device has not been deleted from your account.
Step-by-step Guide #
1. Resetting and connecting the device to Wi-Fi #
1. Do not delete the offline device from your account before resetting and reconnecting it.
2. Perform a factory reset by holding the reset button for at least 45 seconds.
3. Perform a restart – disconnect the power for about 5 seconds, then turn the device back on.
4. Using your phone or computer, check whether a Wi-Fi network named Qilowatt-XXXXXX is visible.
5. Connect to the Qilowatt Wi-Fi network.
• If a popup window appears, confirm the connection.
• If the setup window does not appear automatically, open a browser and go to 192.168.4.1, then press Enter.
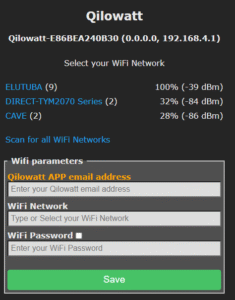
6. Select your home Wi-Fi network and enter:
• Your Qilowatt App email address
• Your Wi-Fi password, then click Save.
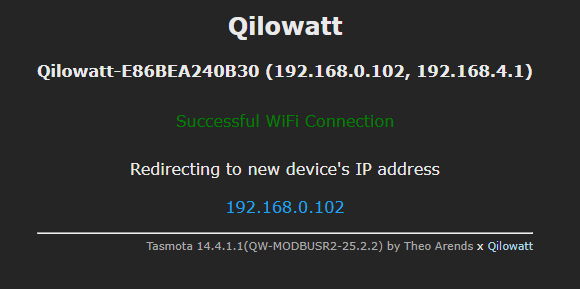
If the information is correct, the device will connect automatically and confirm the connection.
• Your Qilowatt App email address
• Your Wi-Fi password, then click Save.
If the information is correct, the device will connect automatically and confirm the connection.
Wait 3–4 minutes, then check whether the device appears on your Qilowatt account.
2. Replacing the device in the Qilowatt App #
If the setup window returns to the first screen, verify:
• The Qilowatt App email is entered correctly.
• The Wi-Fi password is correct.
• The Qilowatt App email is entered correctly.
• The Wi-Fi password is correct.
Ensure capital and lowercase letters are entered accurately in both email and password.
3. Connection check and troubleshooting #
1. Log in to your Qilowatt App account.
2. On the dashboard, you should see three devices.
2. On the dashboard, you should see three devices.
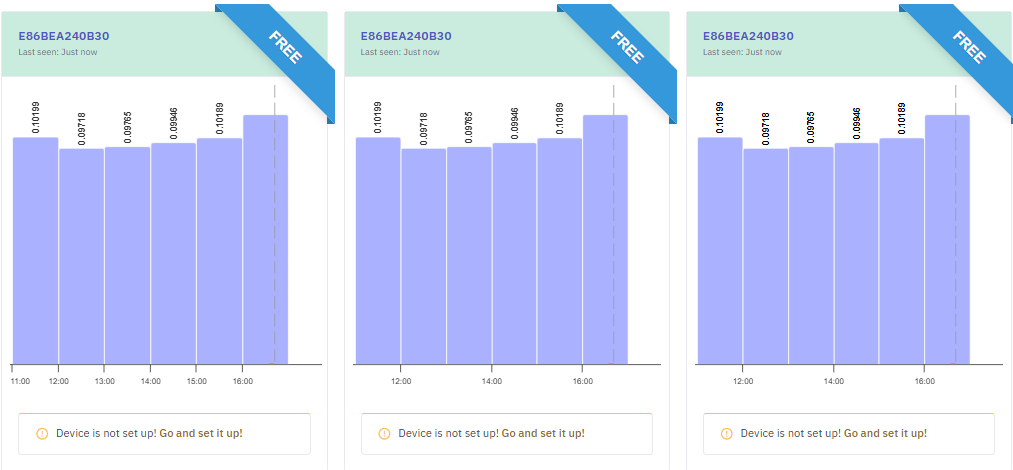
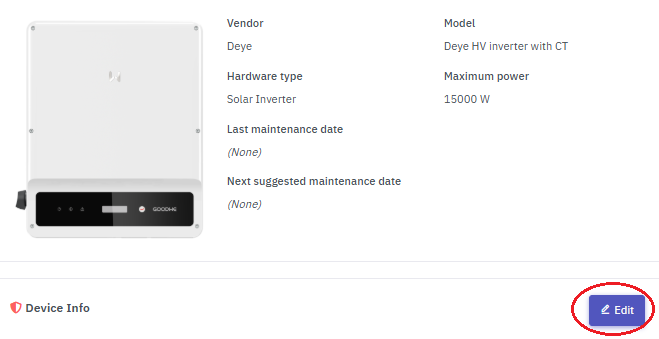
3. Click on the offline device in your account:
4. Click on Edit in the device information:
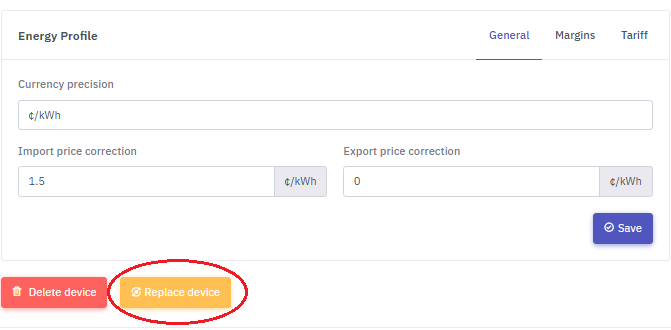
5. Click Replace device:
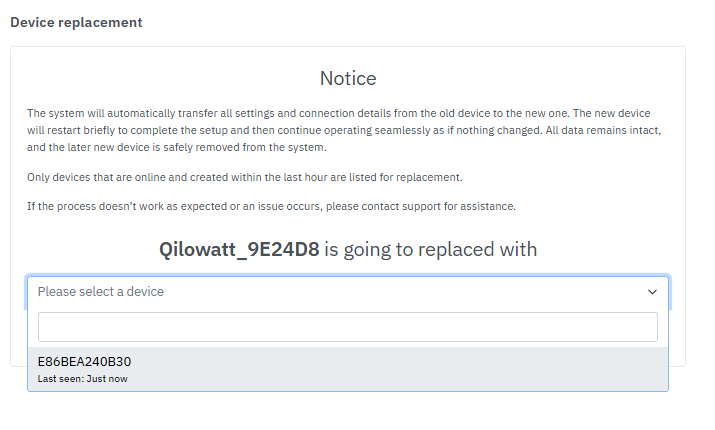
6. From the dropdown, select the new device of the same type.
7. Click Start replacement process.
7. Click Start replacement process.
No confirmation message will appear – the replacement process runs automatically.
4. Final check #
• Wait 5–6 minutes for the replacement to complete.
• Once successful, the previous offline device will be deleted automatically.
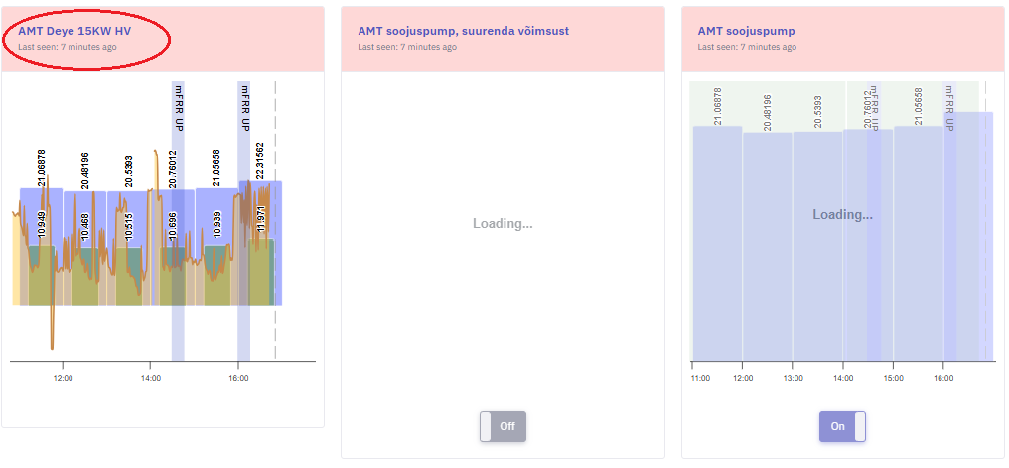
• Verify that all previous settings are preserved and the new device is visible on your dashboard.
• Once successful, the previous offline device will be deleted automatically.
• Verify that all previous settings are preserved and the new device is visible on your dashboard.
Result #
The device has been successfully replaced. All previous settings remain active, and the new device is now fully operational.
If it Doesn’t Work #
• If the new device doesn’t appear on your account, repeat the reset and Wi-Fi connection process.
• If the issue persists, contact support@qilowatt.eu
• If the issue persists, contact support@qilowatt.eu


